Hey wordpress! How are you? Hope well.
I am doing well, excited- like a child, to share all the good things I made in pottery class yesterday. So let’s give it a gooooo…
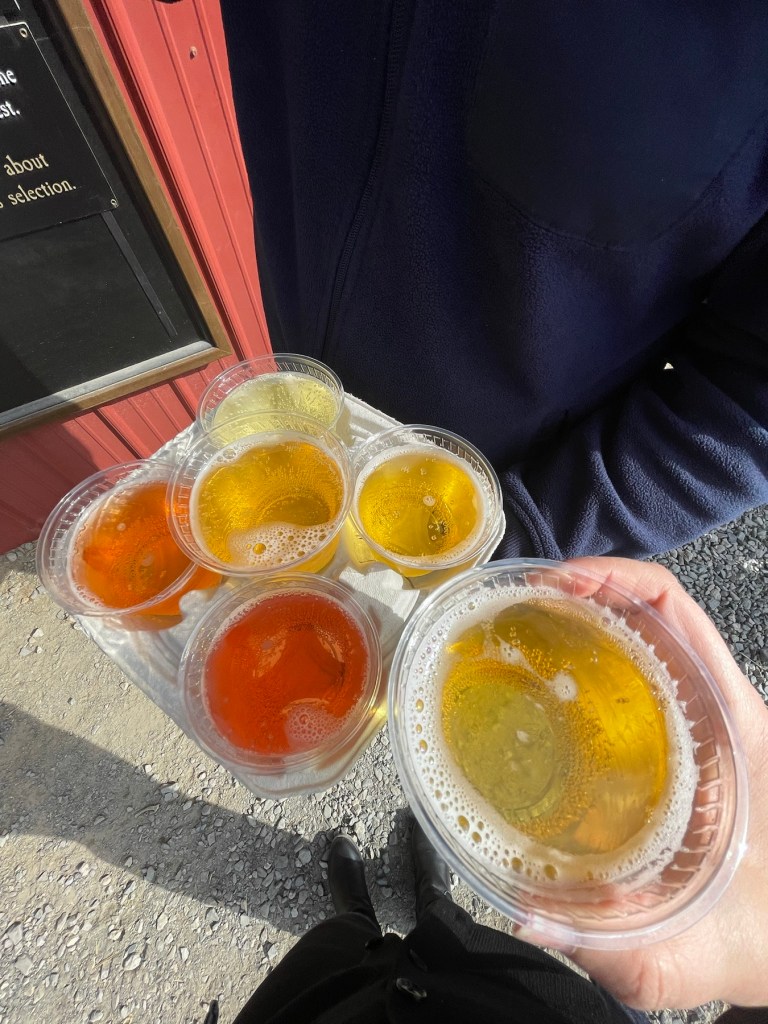
So first yesterday. This long weekend is almost always reserved for farm fun. I am a sucker for a beautiful day out on the farm. Our plans changed as the weekend was filled with dinners, regattas and friends, and we moved the farm day to the Monday. We ended up going to Cider Hill Farm in Amesbury. It was a great time, I love hard cider. 😂 The bummer was that we had a short visit – we had cider donuts, drank a flight of ciders and just as we walked around.. the blue skies turned gray and started spitting.


Which means… I was able to go to my class earlier than I had planned. Yay!
Last week, I left behind a slab draped plate to form, a pumpkin to kiln, a sgrafitto vase to dry and scratch, and a small plate to kiln that had glaze on it – but the clay underneath was not fired, so I wasn’t sure what to expect.
Well. The lil plate exploded in the kiln! 😳 I had a feeling this would happen and got over losing the plate pretty quickly… As everything else came out fine.
The first thing I worked on was the Sgrafitto. This is a technique where you apply an under glaze to a piece, let dry, then scratch a pattern or image into the glaze- scratching off the layers of glaze with sharp tools. I scratched a bee into mine…it was not as easy as it was taught to me but it was a lot of fun.

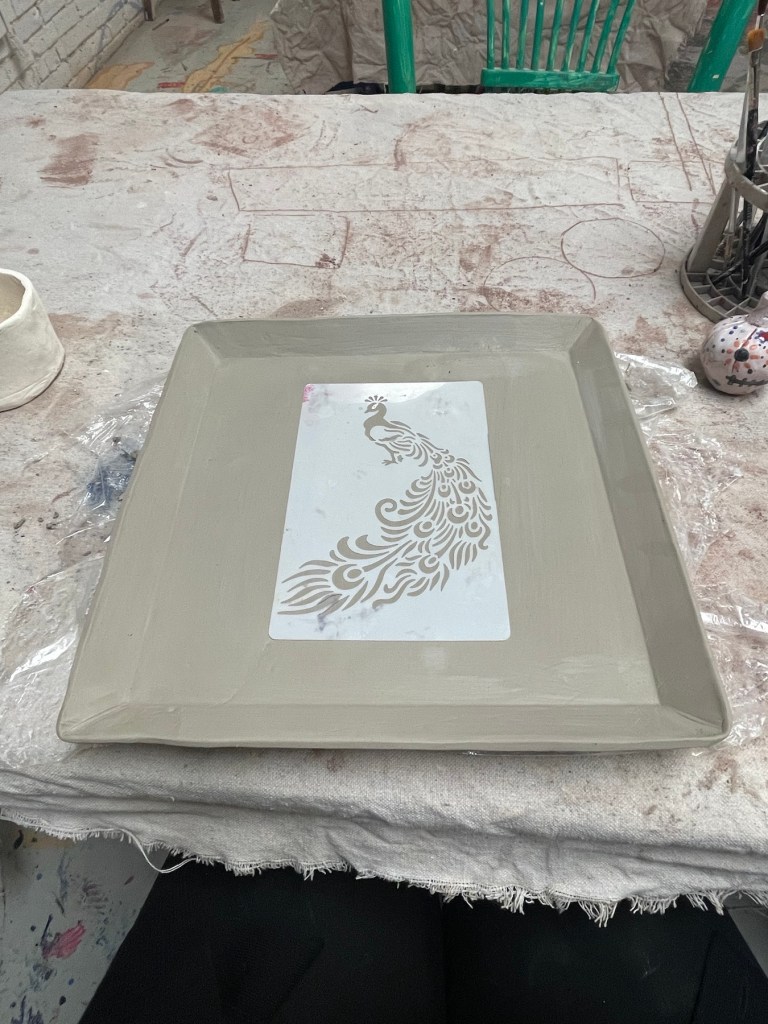
Once I placed that on the kiln shelf, I set my attention to the slab drape plate. I had to trim the walls but I wasn’t really sure what I was gonna do with it. …Leave it blank, add a design, apply a funky glaze. All I know is that I wanted to have this plate to actually use when I entertain. You know… so I can pull it out of my drawer to tell all my friends, ‘hey look what I made’ 😆. While I was talking to the assistant, he had brought up a great idea to add a design. Well, it was the way to apply the design that intrigued me. Placing a template down on the clay, then with sweeping pressure applied with a damp sponge, the image sets into the clay. We scoured all of the supply drawers but all of the templates in them were juvenile… till he found a peacock. I immediately was like I can work w that!
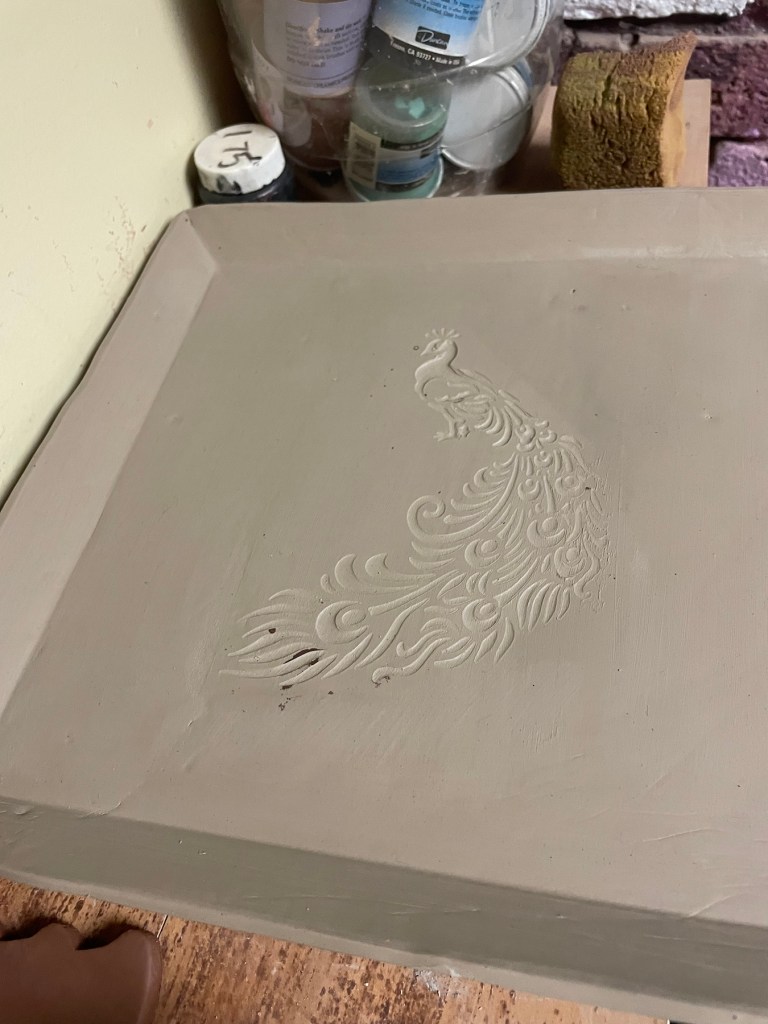
Here it it… now waiting to be kilned.
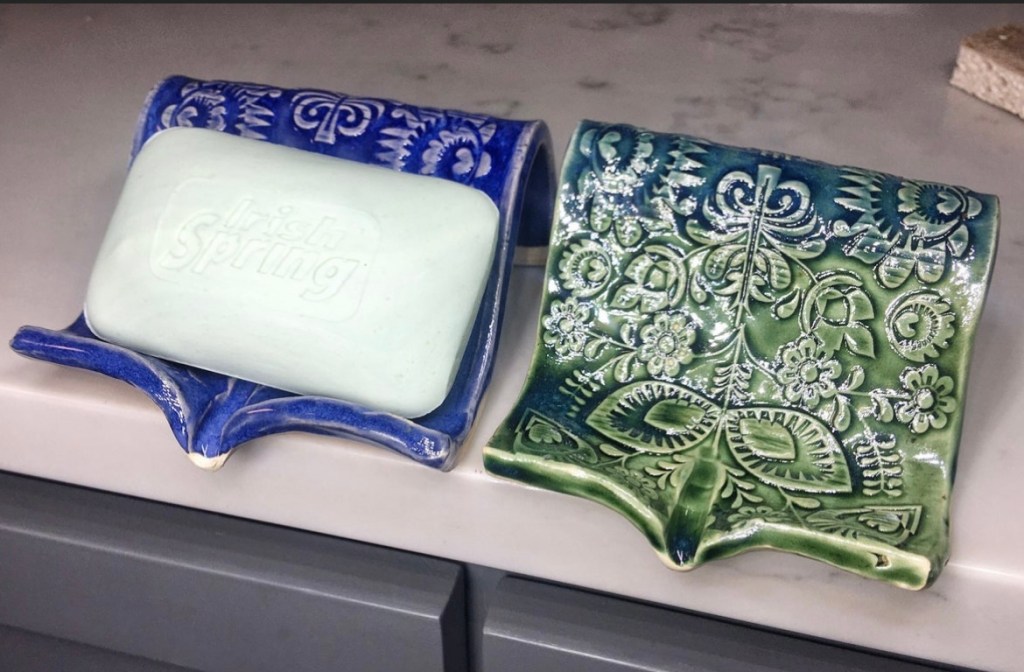
After I set the plate on the kiln shelf… Next to my vase!, I asked the assistant about a project that I researched online. A sponge (or soap) drain. When I saw the image online last week, I figured it looked easy enough to tackle myself. I share the image with the class as well- some people thought it was a great idea. One person even took a picture off of my phone to try it next week to make a gift for their mom.
I’m such a trend setter.
So I got to work. They didn’t have any molds that were similar to the one in the image, which I loved. So I found a box of doilies, that could work. I chose the one knitted into a tight round. I smoothed the clay first with a damp sponge, then centered and rolled over the doily on top of slab of clay to imprint it. Then trimmed it down to the size of what a sponge/bar of soap would be then draped it over a rolling pin to dry and worked on the drainage spout. I ended up trimming it down more after I took the pic below and it looked pretty similar to me! I added a small drain hole above the spout though, in case.
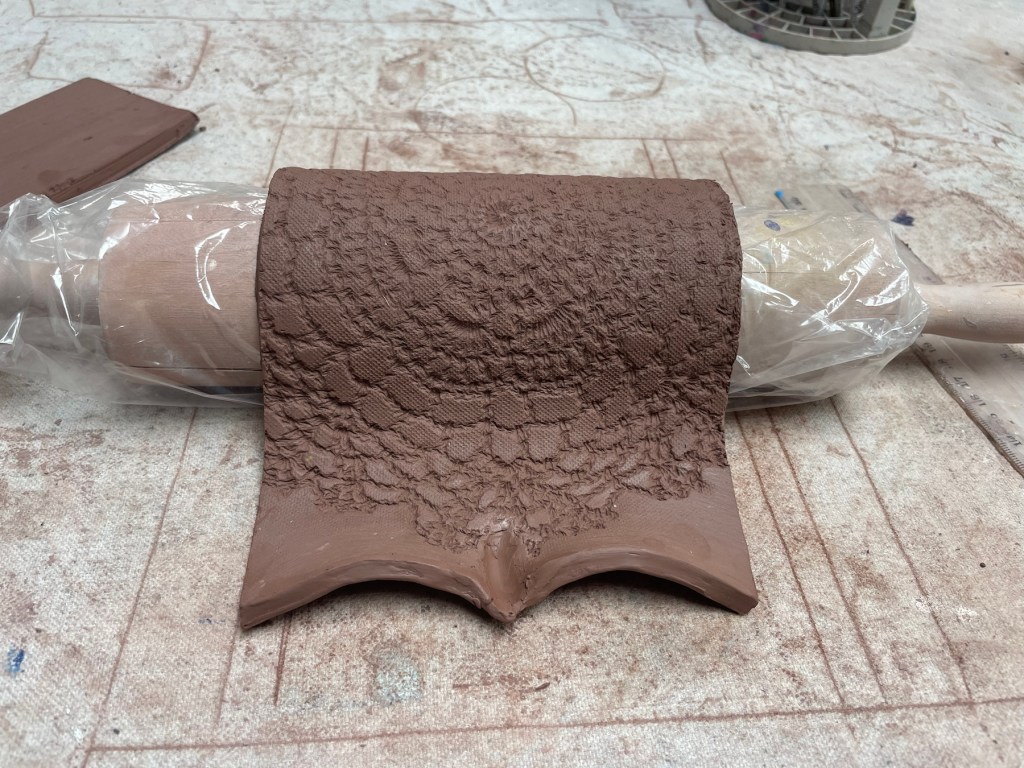
I left the sponge drain to dry on the rack. Next week I will put it on the kiln line- unless I go by there this week just to drop it onto the shelf. Idk yet.
For the next few days, I will think about how I want to glaze this sponge drain. My kitchen is pretty modern and I have been loving the color yellow lately, so maybe I will try and think of a color combination that will match my kitchen and uses yellow. Who knows. 😊
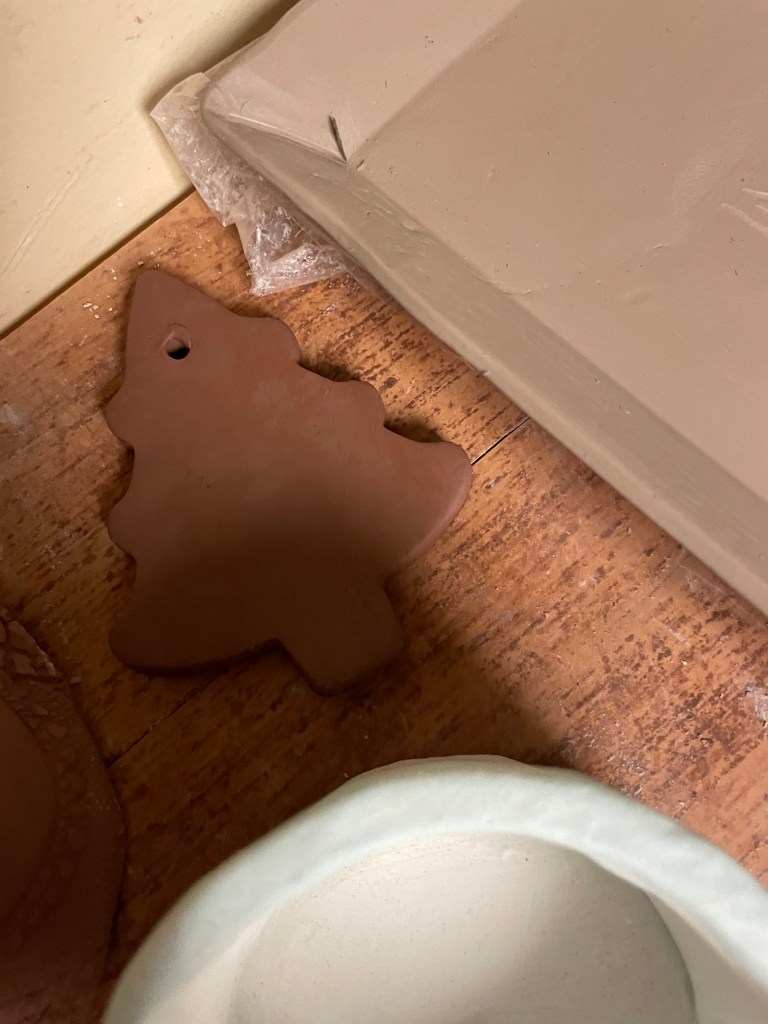
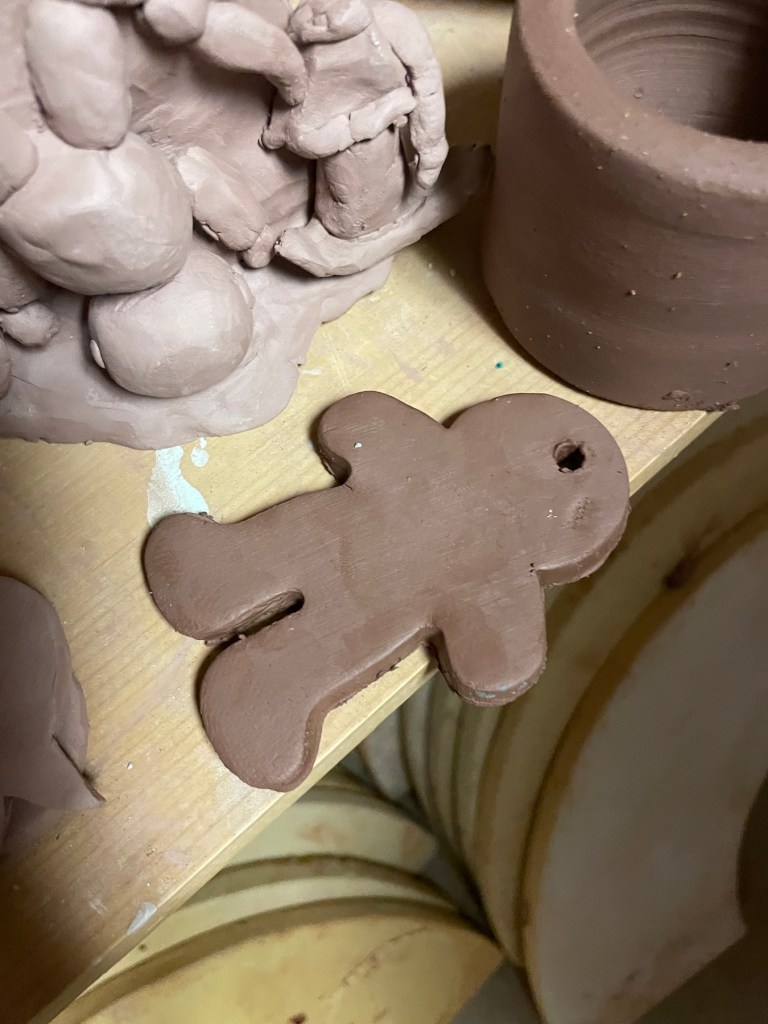
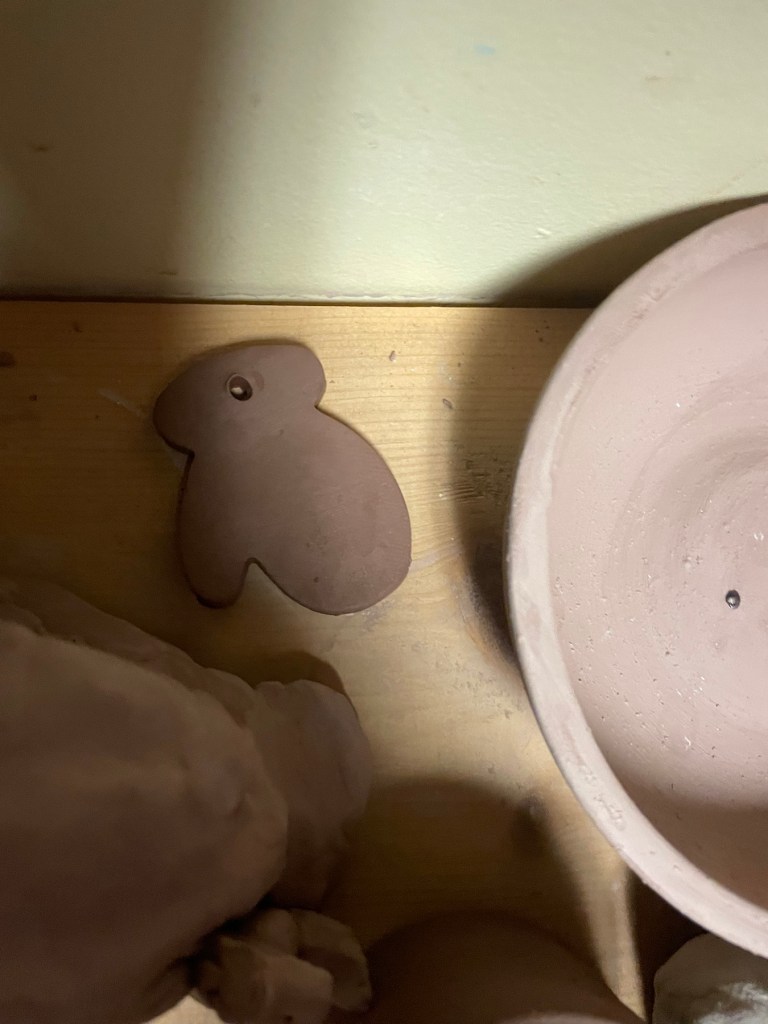
With about 10 minutes before class officially ended, and having a ton of reminent scraps from the sponge drain left behind, I made a few classic Christmas ornaments for my daughters. These are left behind to kiln. I will also research online for the best ways to glaze these pieces this week- whether to keep them traditional or modern.

That was my class- super great right!? I think coming to the class with an objective is key. I walked out of class feeling so good! I felt like I tried my best and felt it was my best. Nothing is perfectly beautiful, definitely looks like a cavewoman made everything but compared to my first mug, it is quite an improvement!! 😆
So that is my new formula for the next classes. Research a project to try. There are two classes left after this week. Ugh I know. And I plan on signing up for the winter session starting November 7. Not just to attend the classes officially, but to further my understanding and use of throwing on the wheel and making projects that I see online- like an open studio learning on my own. I did ask a friend to join me this round, but they’re going to be away for two weeks during this session and will let me know tonight. Hope it works out for her. We shall see!
Before I go, if you have any pottery projects or ideas that are unique (not terribly complicated) please share them below or send me a link! I am always up for good ideas. 😊
Thank you for stopping by today, guys. Your support reading along is always appreciated and hope you know this.
till next post. xoxo
