Disney Trip Countdown Calendar
In 2012, when we went to Disney World, I had the girls use a conventional Disney themed calendar for the countdown. It was great fun, as they marked every day till the big trip. The only problem was it became so messy on the calendar with both girls wanting to circle and cross off days, along with other events and celebrations written on it, that I just wanted to give a try on the countdown calendar myself. I am not a big fan of messy calendars, especially when we had the calendar on the front of our fridge!
This trip’s countdown calendar is being added to my daughter’s big Disney Trip reveal on Christmas Day! So excited! Since the last countdown was so messy, I wanted this to be easy, clean and separate from our daily calendar. The drafted idea was for the girls to pull off tabs from the calendar to count down the days, but where on some of the tabs they would find movie nights or special requests (uhm, like small chores)! I started researching online, aka Pinterest, and found some cute ideas, but most were just not my style, or too complicated for a full-time working mom!
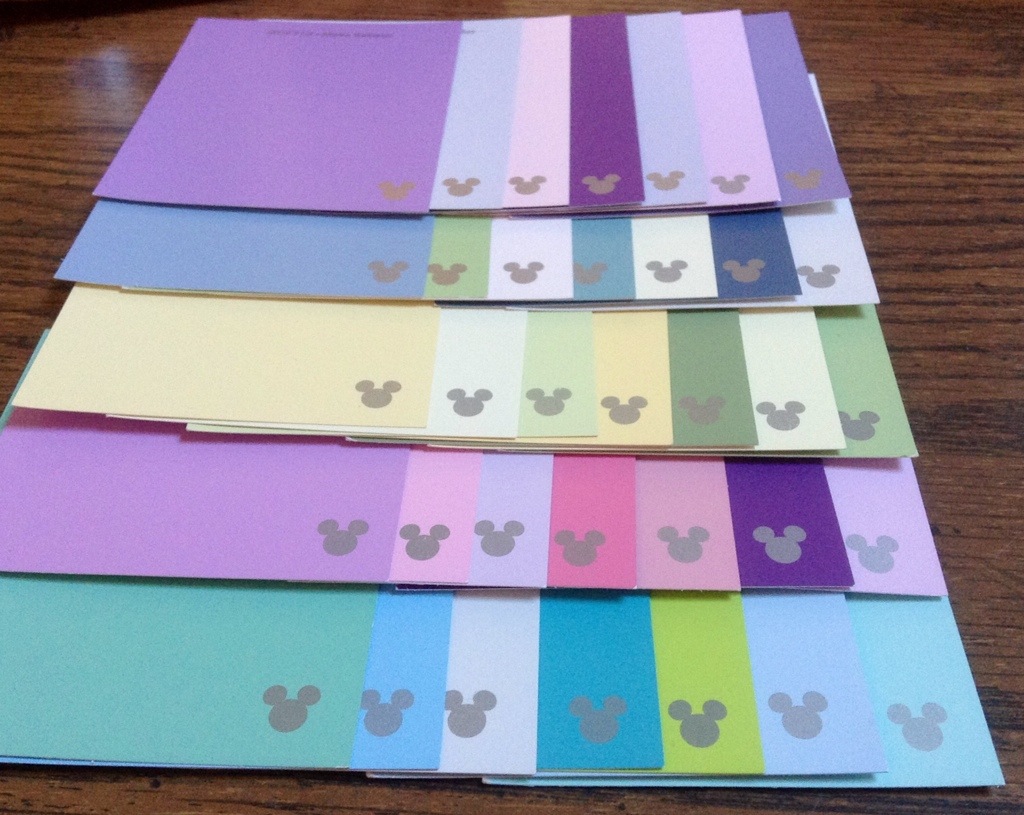
The supplies I chose were easy to get, or already on hand at my house; WalMart’s Disney brand paint chips, a few sheets of white card stock, a Dollar Store white foamboard, craft glue, silver, pink pastel and blue pastel glitter, and high gloss black craft paint. This project was so much fun to put together, and it came out real cute! Also, it was SUPER inexpensive. Which to quote a funny movie.. “Two words I like, Peppy and Cheap.” – Soapdish (Gary Marshall)
To find the paint chips I wanted, the Mickey Mouse head shaped ones, was a bummer, cause they stopped making those about two years ago; when I wanted to snag them in the first place! But, WalMart ended up having these cute ones anyway. They are available in all colors, and have a silvery Mickey Mouse head on the bottom right hand corner. I chose paint chips that were soft in color, and in similar color families. And who can complain when they are free?
Then, a day after I got the paint chips at WalMart, we got Disney video club mail. You know the ones that come with those DVD cover stickers? I got an idea to use those stickers on each tab for those movie themed nights I wanted to make. I love when ironic things happen like this..and they’re free! Score!
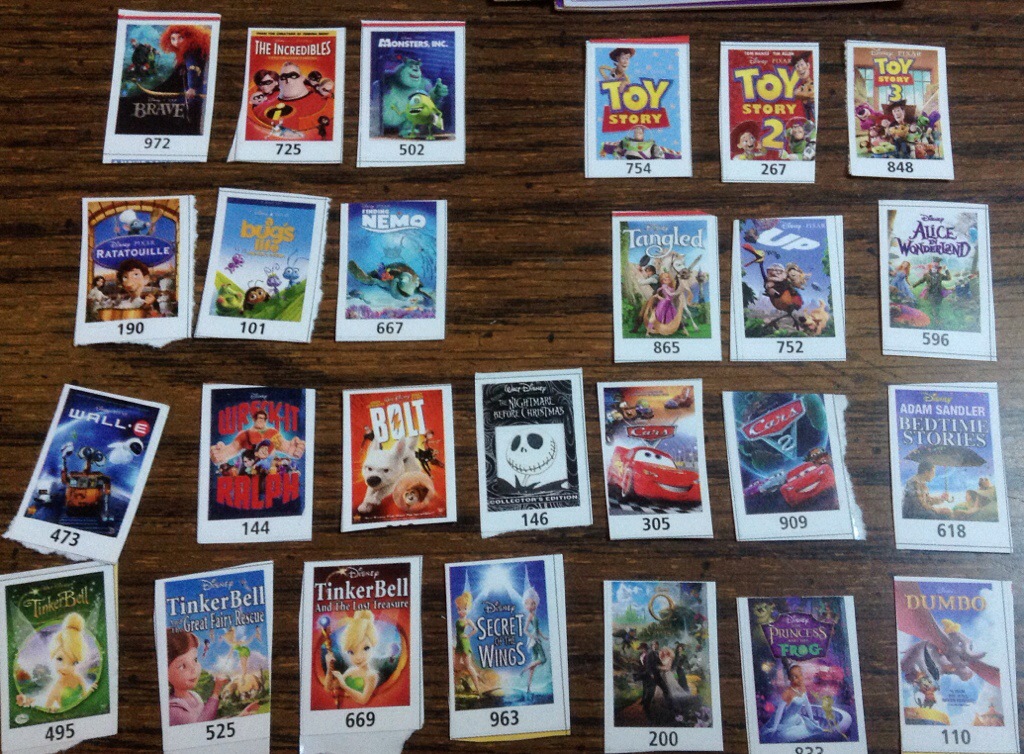
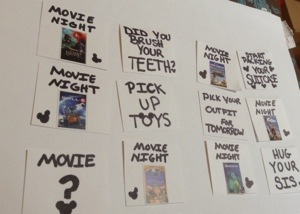
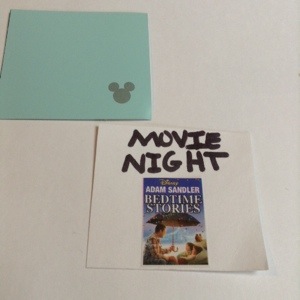
I had a few pieces of card stock in the house, and figured to use them to make backings to the paint chips. I cut them into the same sized squares as the paint chips (1.5″), and wrote on them and glued the video stickers on the bottom. Then on others, I had written sweet chores like ‘Hug Your Sister’.

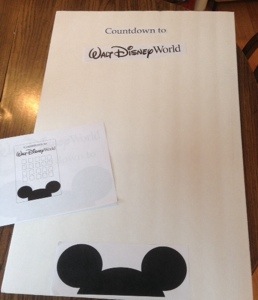
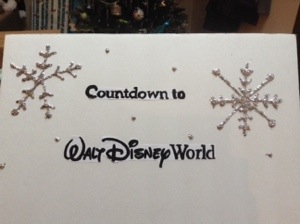
To start the board. Thought it would be sweet if I could mimic the theme I put together for their Christmas reveal, the giant Mickey Mouse Head/Ears. I went online to find an image that I could use as a paint template. Printed it out on an 8×11 sheet of copy paper, which fit for this perfectly. For the title, I had an issue with my Walt Disney font, so I went and found the Walt Disney World logo and used that as my other template for the title. I created the words “countdown to” in a font I had on Word that was close to the word “world” in the WDW logo.
My hand wasn’t so great at being steady for painting the font like it was for the Mickey Head, that I used the printed paper and painted over it.
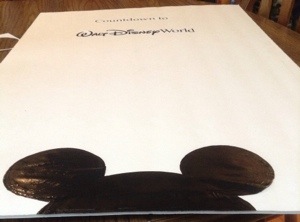
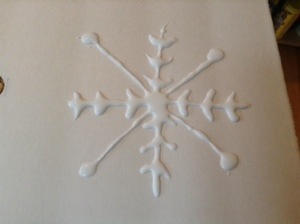
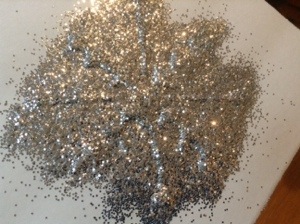
Once the paint dried on the titles and the Mickey Mouse head, I started on the snowflakes that I added on last-minute to tie in the season.
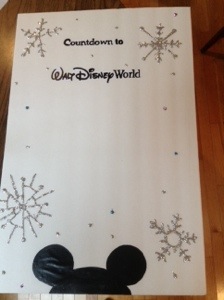
With the black craft paint, I painted the number of days left till the trip to each paint chip front- two coats. Once the paint is dry, they are ready to be adhered to the board.
To get the paint chips onto the board, and without wrecking the written card stock pieces that are attached, I thought to tape them on. I ran a clear line of tape across foam board for each week (long enough for all seven squares in a week). Then I made tiny rolled tape pieces and attached each square on as straight as I could.


This is SUCH a fun idea! I think I might steal it to use when we take our daughter for the first time.
Awesome! And it really was so easy to make. Good luck!